You have no items in your shopping cart.
How to lay garden paving
The laying paving guide
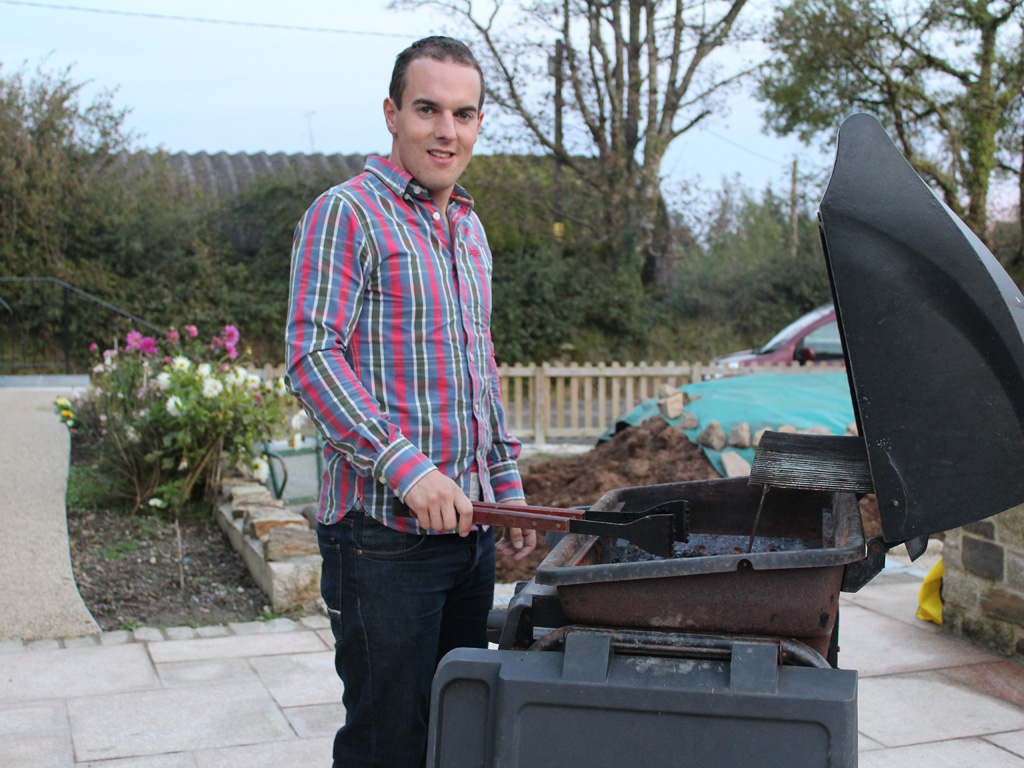
Laying a good patio is a really satisfying DiY project that you will enjoy for years to come. This page contains links to our instructional video and other helpful resources to aid you in laying your patio. Check out the video or use this PDF: Laying a patio guide. You may also want to check out pavingexpert.com, run by resident expert Tony McCormack, which contains lots of helpful articles on how to select and lay natural stone paving. 

Step 1 - Design
Here we have the 10 steps to laying your patio paving. Step 1 - Design You will need to define the function of the paving, think about the size and the shape of your patio. Choose your materials carefully consider the colour and finish think about edges, drainage, steps, manhole covers and other fittings. If you decide to go with a pack of mixed size slabs plan out the pattern you would like to use. This is an ideal time to do planning and drawing. Remember to consider access and waste disposal.
Step 2 - Check your capability
Are you physically fit to do all the digging, lifting and carrying? Have you got the tools required? It is sensible to allow plenty of time to lay the paving, as a rough guide it may take 8 weekends to lay a 50m2 patio (assuming weather is suitable)

Step 3 - Costings
It's time to get the calculator out. Remember to think about Labour, Plant hire, materials and waste disposal
Step 4 - Site clearance
Get rid of all vegetation and remove rubbish
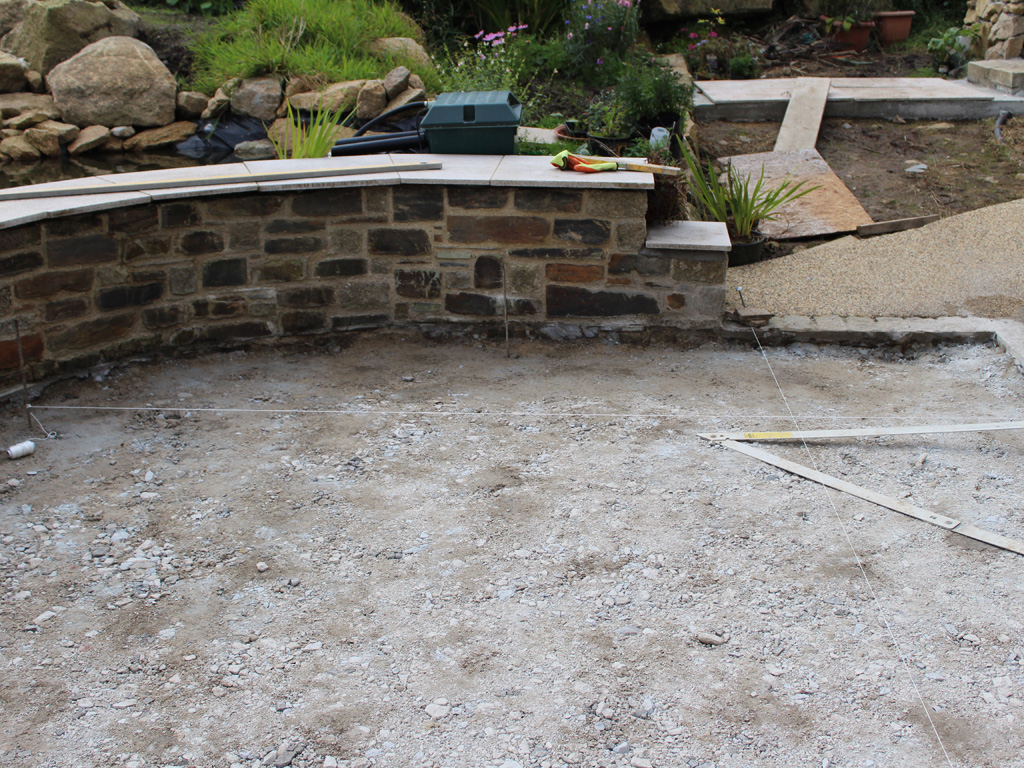
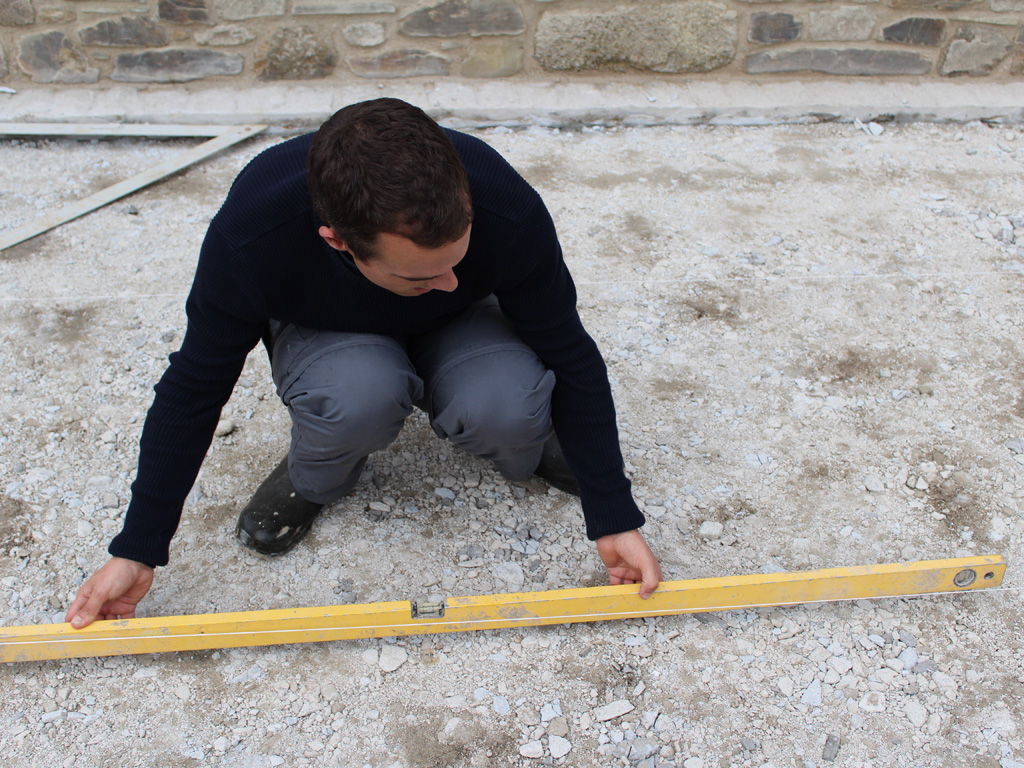
Step 5 - Setting out
Set out the shape of the patio and the levels using taught string. Make sure you have dug deep enough to allow for the slabs mortar and subbase.
Step 6 - Drainage
This is imperative to the end product. You will need to make sure there is a gradual slope to stop pooling. Make sure the patio is sloping away from the house.

Step 7 - Build up the layers
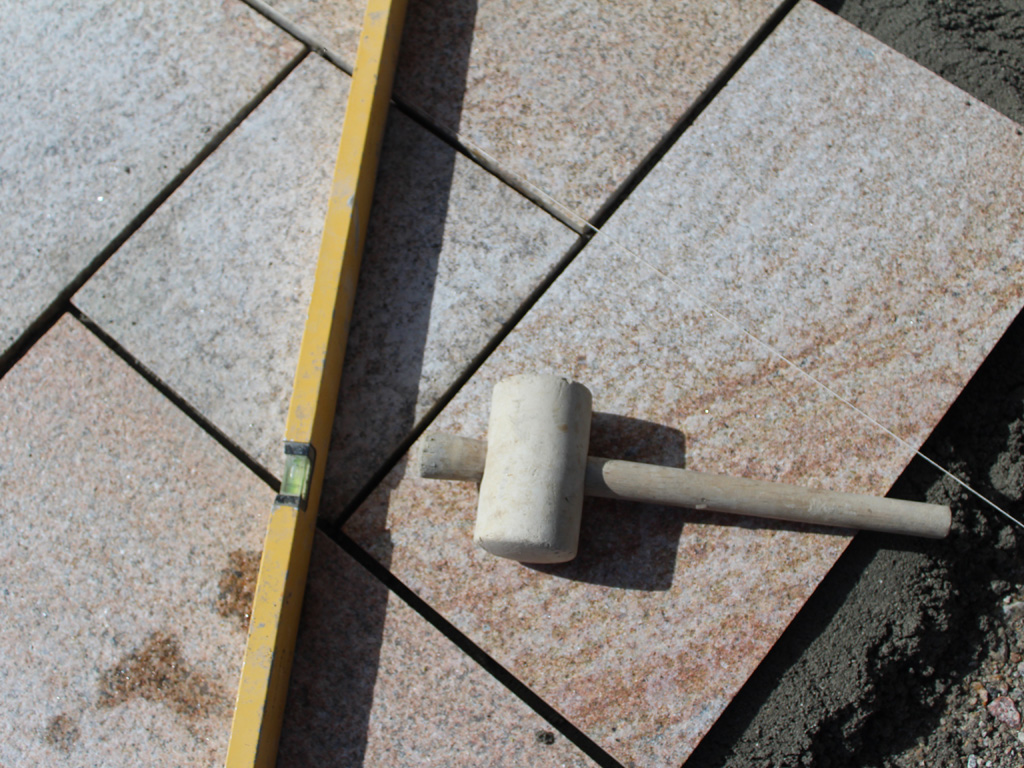
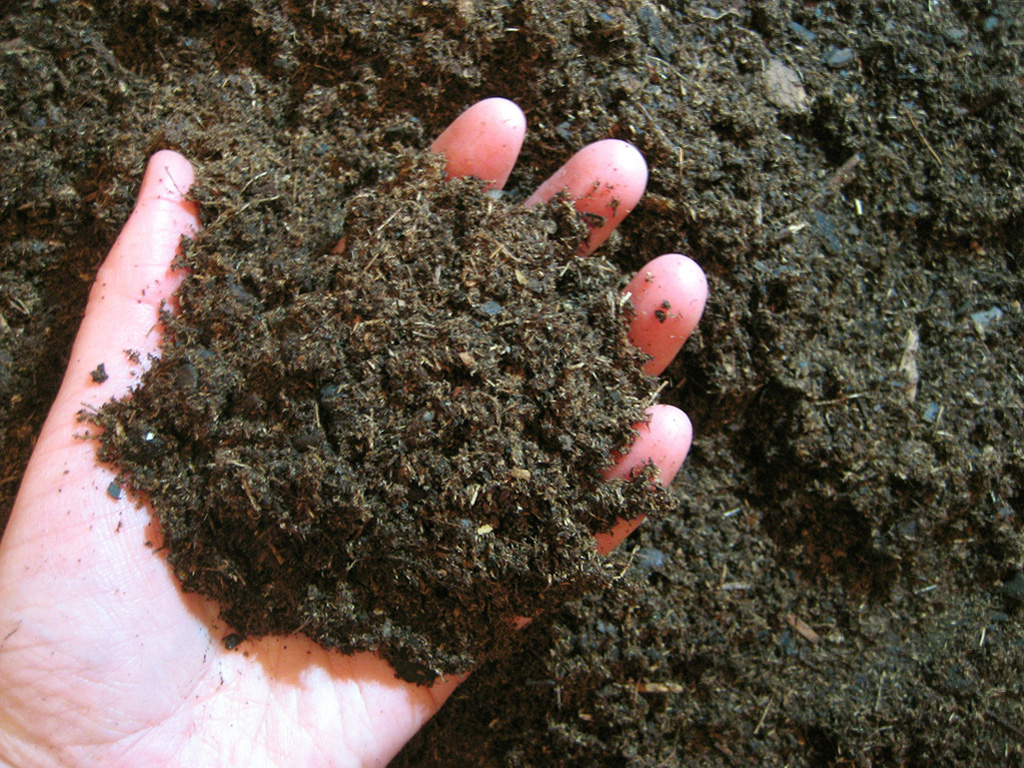
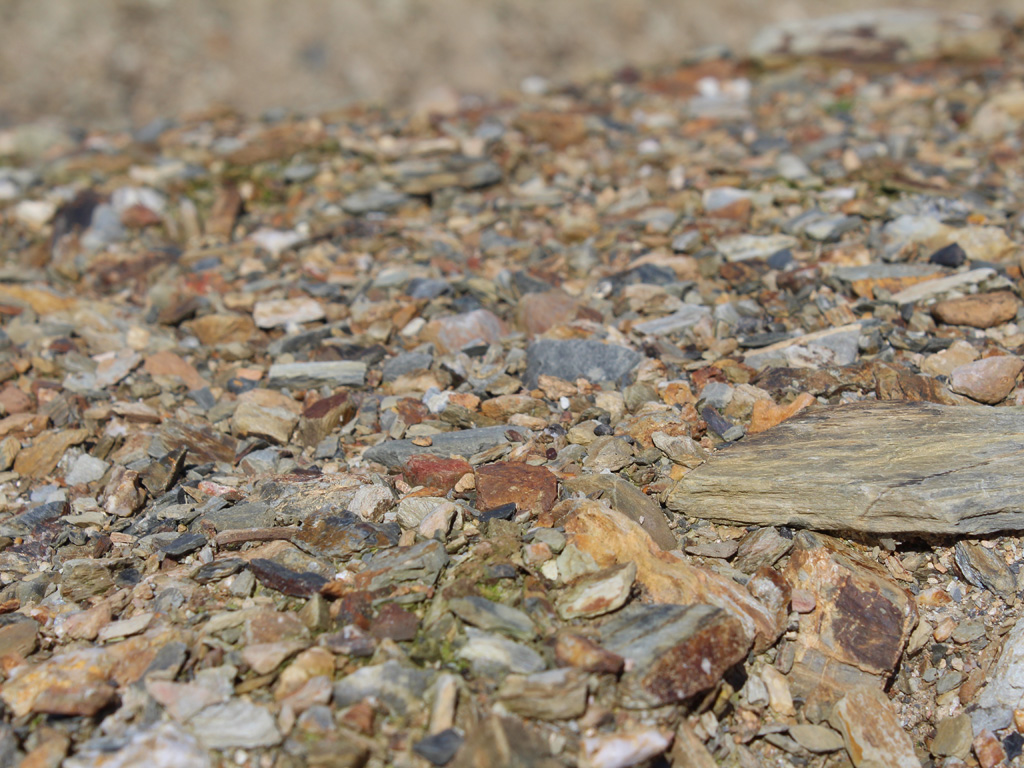
The thickness of each layer will depend on the intended duty of the patio paving. Prepare the subgrade first before installing the geotextile to separate layers, next install the sub-base. Bind off the subbase with some sharp sand and install the bedding layer, a mix of 6 part sand to 1 part cement is a good ratio. For medium or heavy duty patios concrete will be needed. Apply a SBR resin to the back of the slabs and to the mortar to protect the slabs from staining. Once dry you can lay your slabs, make sure that the rough surface is facing upwards to add grip. Do not 5 spot bed, instead use a level screed.
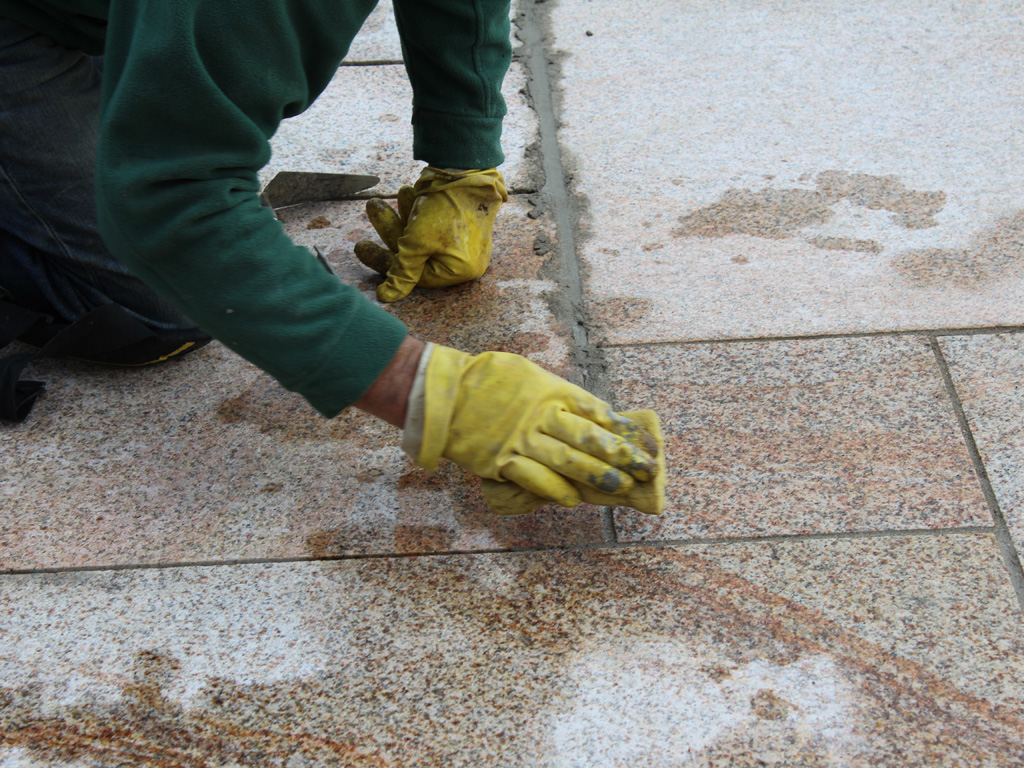
Step 8 - Pointing and grouting
Wait at least 24 hours for the paving to set before walking over the slabs. Start by raking out the joints to make enough space for the mortar. Make sure your cement is fairly dry to avoid staining on the slabs. Tightly compact the mortar in the joints and wash away any left over residue from the slabs.
Step 9 - Aftercare
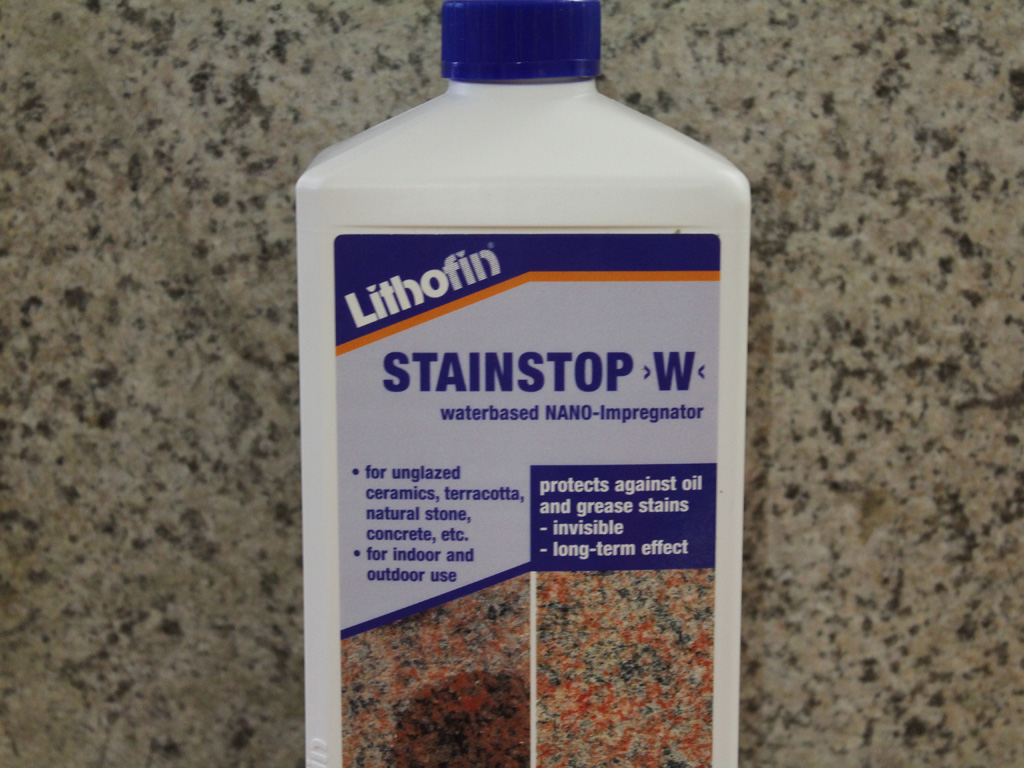
Remember to keep your patio paving slabs clean by washing it every 6 months. Check and repoint any settled joints, clean and remove weeds. You may also wish to seal the patio paving slabs to add further protection, you should wait at least 6 months after installation before sealing the slabs. Start by making sure the slabs are clean you can do this by using a stone cleaner like "Builders clean". Once dry you can begin to seal. Always follow the instructions on the bottle and test on a small slabs before committing to the whole patio. "Stainstop" is a popular choice for sealants.
Step 10 - Enjoy your patio
I'm sure you don't need me to tell you how to do this!